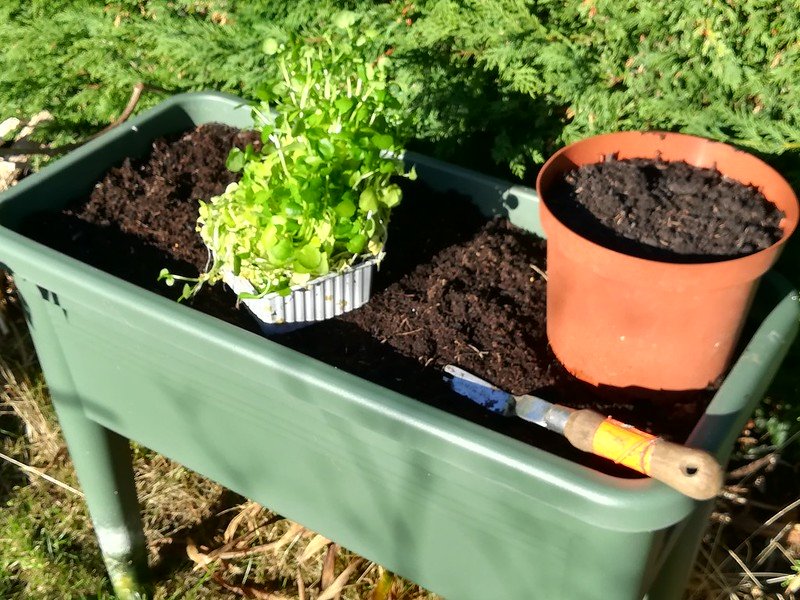
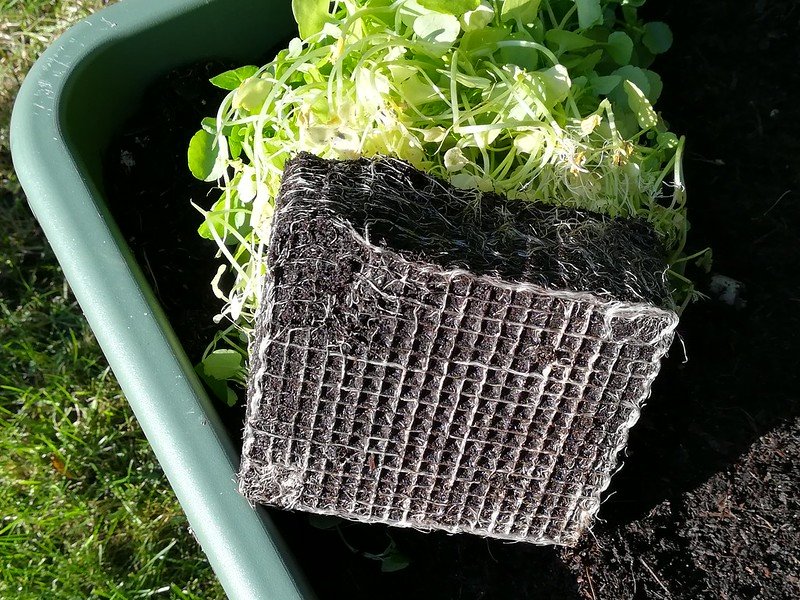
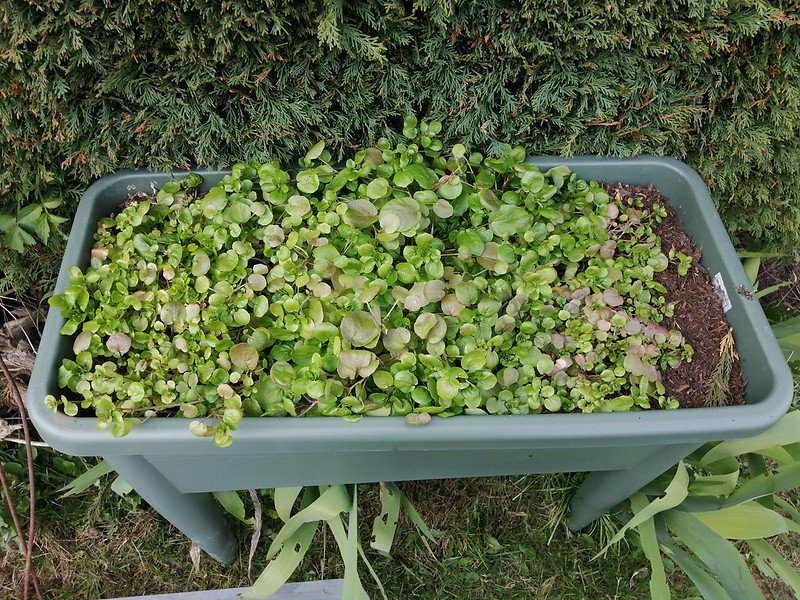
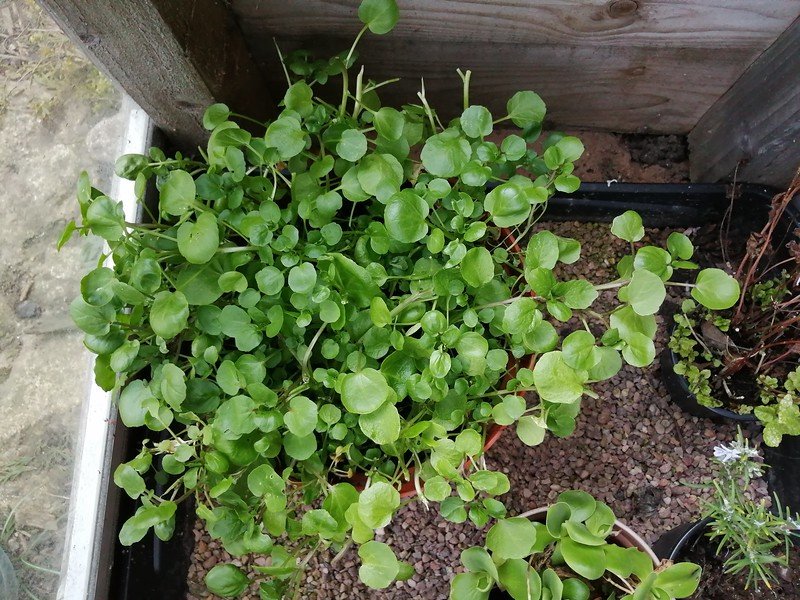
Living salads are a wonderfully cheap and easy way of starting a lot of new plants. The supermarkets’ claim that you can keep cropping from these pots on your windowsill is ridiculous. There are far too many plants sown too close together in each pot to survive for long as they are all competing for water, light and root space. Set these sorry little captives free and divide them up into several pots (an activity known as ‘potting on’), or plant lettuces the ground. They will reward you by producing much larger and healthier plants that you really can crop for weeks.
Easy Watercress
Potting on supermarket ‘Living Salads’ gives you lots of quick, cheap, healthy plants.
Time Taken: 20-30 minutes
This is an easy activity for someone who can potter gently outside and work at table height. the heaviest part is lifting the compost. Take the pot to the bag, in a wheelbarrow if necessary, rather than lifting a heavy bag.
Equipment
A large pot (at least 10cm diameter) with a tray to stand it in
A potting tray, or lots of newspaper to work on.
Good quality compost (preferably peat free)
A tub of living watercress salad.
Liquid plant feed
Watering can
Instructions
Look at your tub of watercress before you start. It is made up of hundreds of tiny plants with their stems, leaves and roots all tangled together. On many of the stems you will see tiny white roots sticking out into the air too. In the wild, watercress grows flat along the ground, or floats in shallow water, these aerial roots grow down into soil wherever they touch, helping the plants to spread. They’ll do just the same for you in a pot of compost, meaning that a small number of plants will gradually spread to fill the pot entirely.
1. Fill your container with compost, leaving a couple of centimetres compost free at the top.
2. Level the surface and press it down gently.
3. Gently squeeze the sides of the tub your watercress plants are growing in to loosen the roots and tip the block out of its plastic tray onto newspaper.
4. You will see a solid rectangular mass of tiny white roots. Gently tease apart a small section of leaves and tear their roots away from the rest of the block (roots are very forgiving and will respond by growing more when you give them space to do so in their new pot).
5. Make a hole in the surface of the compost big enough to take the root ball, place the roots in it and cover them up with more compost to the base of the stems Press the compost down gently around the plant.
6. Repeat this, keeping the plants about 3-4cm apart.
7. When you have filled the pot with plants, place it in a tray and water it well.
8. Place in a shady spot outside with a cover to protect it from frost (Use a container with a cover as pictured, a cold frame, or a couple of layers of horticultural fleece pegged down.
9. Keep the compost moist with regular watering; watercress likes lots of water so try to keep some standing water in the tray all the time.
10. Give your plants a liquid feed weekly, diluted in your watering can according to the instructions on the bottle. Compost does contain the nutrients a plant needs, but these are used up in a few weeks, particularly by a plant you are cropping regularly. If the leaves turn yellow and the plants are not growing, the plants are hungry.
11. Pick the leaves regularly as this stimulates the plant to grow more.
You can make your own organic plant feed for free by soaking nettle or comfrey leaves in a bucket of water for 2-3 weeks, but be warned, it stinks so is only good for outdoor pots).
Categories: springautumn20-30 minsoutdoorscontainerslow energy
My illness has meant that I have had to give up my work and so I am now looking to find a new career through my writing. If you have enjoyed this page and would like to encourage me to produce more, click the coffee cup below to make a small donation; no strings, no fuss, just a little, 'Thanks, keep it up.'
You can also help by sharing this page on your social media.
If you enjoyed this activity, explore my others through my Activities home page.