
Time Taken and Energy Needed
Sourdough takes 2 days to make but most of this time is spent waiting. Plan your time for several bursts of activity of 10-30 minutes. Kneading is hard work, involving 10 minutes of energetic activity, so you may need a kitchen mixer with a dough hook or a willing volunteer with strong arms.
The Stages of a Sourdough
Sourdough bread is made in several stages to allow the culture to build up its strength gradually. This differs from bread made with factory produced yeast, which is much stronger and used in larger quantities. (This can cause problems with sensitivity for some people). The slow process gives you lots of time to rest in between each stage, while your starter culture works to raise the dough and begin the process of breaking down the nutrients it contains. This makes it more digestible and produces complex flavours and a rich dark, caramelised colour in the final loaf.
Stage 1 – the starter is used to make a soft pre-dough called levain.
Stage 2 – after several hours, once it is bubbling well, the levain is built up into the final dough. No salt is used yet as salt kills yeasts and so slows the rising process.
Stage 3 – salt is kneaded into the dough once it is rising vigourously. This slows the process of rising (or fermentation) giving a better flavour.
Stage 4 – the dough is de-gassed (the air is squashed out to ensure more even, smaller bubbles in the loaf), shaped and placed in a container to rise.
Stage 5 – the loaf is baked.
Ingredients / Equipment
Day One for the levain
• 80g bubbling starter
• 90g white bread flour
• 65g water
Day Two for the final dough
• 235g levain (from above)
• 470g white bread flour
• 240g water (N.B. 1ml water = 1g water)
• 10g salt
NB Although salt slows yeast development, it is also necessary for a good rise and flavour. Saltless bread is not nice. Factory bread is often very high in hidden salt, so making your own is a good way of controlling your intake.
• 2 large bowls
• A jug
• A large spoon
• Scales
• A spatula or bread scraper
• A bread banneton (shaping basket) or a deep pudding bowl (approx. 15cm diameter) lined with a tea towel
• A sharp knife
• A baking sheet
• An oven
• A wire rack for cooling.
• An oven-proof container for water (I use an old bread tin)
Instructions for a White Sourdough Loaf (800g)
Day One – In the morning
Make sure you will be at home the following day to follow through.
Make a levain.
•Use a bowl with room for the mixture to expand.
•Mix together:
80g of the bubbling starter (put the rest in an airtight container in your fridge)
90g white bread flour
65g water
The mix will be thick and soft, dropping rather than running off a spoon.
•Cover with a plate or film to keep the levain moist and place it in a warm place for the day.
•By evening it should be very bubbly.
Day One – In the evening
Make up the final dough.
•Combine together:
235g levain (This is all of what you have made. Don’t worry if it’s not exactly 235g)
470g white bread flour.
240g water.
•Knead for 10 minutes until smooth and elastic. You should be able to stretch a piece of dough so thin that you can see light through it (the windowpane test).
•Place in a large bowl with room for expansion, cover with another large bowl and leave to rise at room temperature overnight.
Hot weather can make dough rise much faster and even denature, becoming very sticky. In very hot weather I cover my dough bowl with a wet cloth near an open window while it rises or leave it outside under a cover overnight.
Day Two – In the morning
• Scrape your dough onto a worktop, squash it down to get rid of all the bubbles.
• Sprinkle 8g salt (a rounded teaspoon) onto the flattened dough, break up any lumps, roll it up and knead until the salt is fully mixed in.
• Either:
• line a small bowl with a tea-towel and sprinkle the towel liberally with flour,
or …
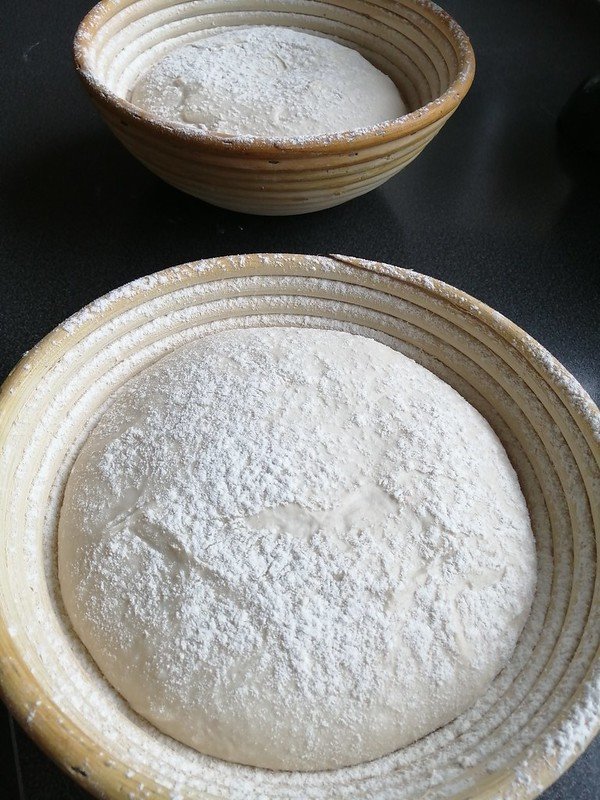
• sprinkle the inside of a banneton (proving basket) with lots of flour,
or …
• grease a large loaf tin.
•Form your dough into a round loaf and place it in the bowl, basket or tin.
•Cover the loaf with a floured cloth and leave to rise for several hours until it has doubled in size.
The time it takes to double in size varies according to the temperature of your room and how vigorous your starter and levain were. When you gently press your finger into the dough it should slowly spring back.
Day Two – In the afternoon
• Once your loaf has nearly doubled in size, pre-heat your oven as hot as it gets, with a small dish of water in the base for steam. This helps it to rise better.
• If your loaf is in a tin
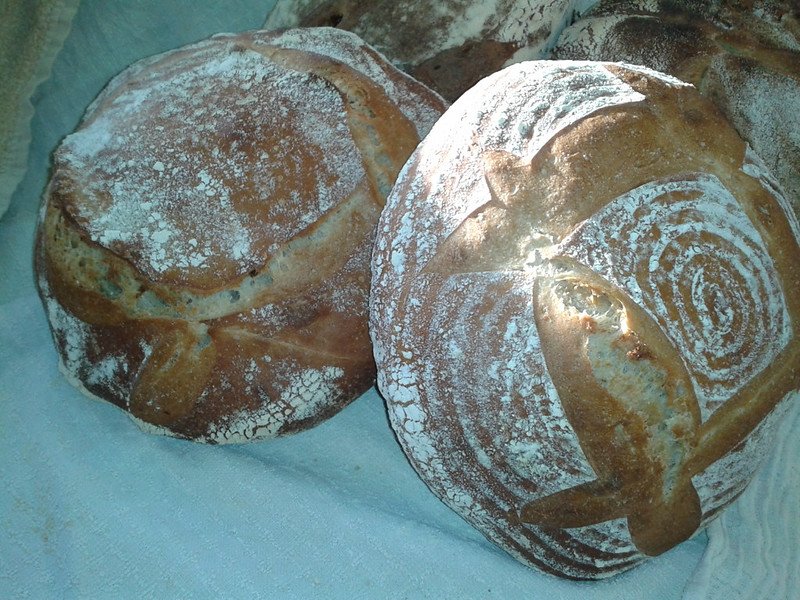
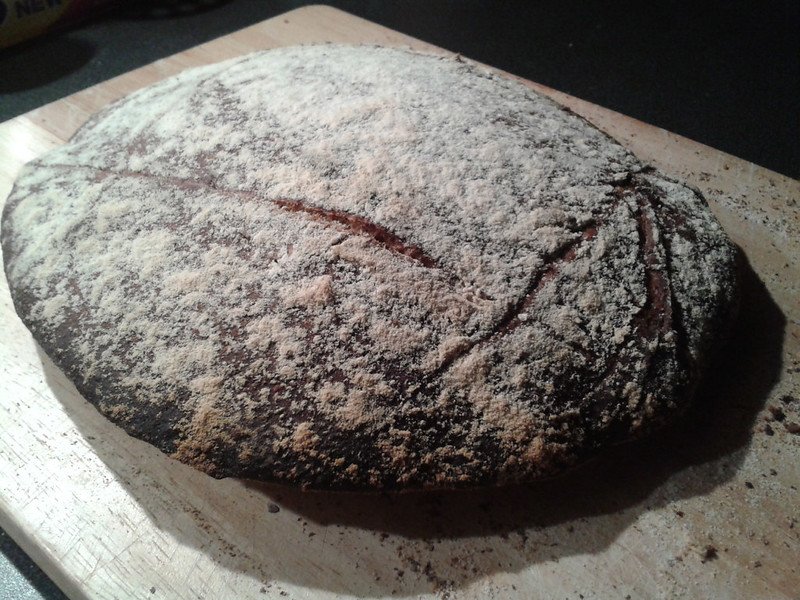
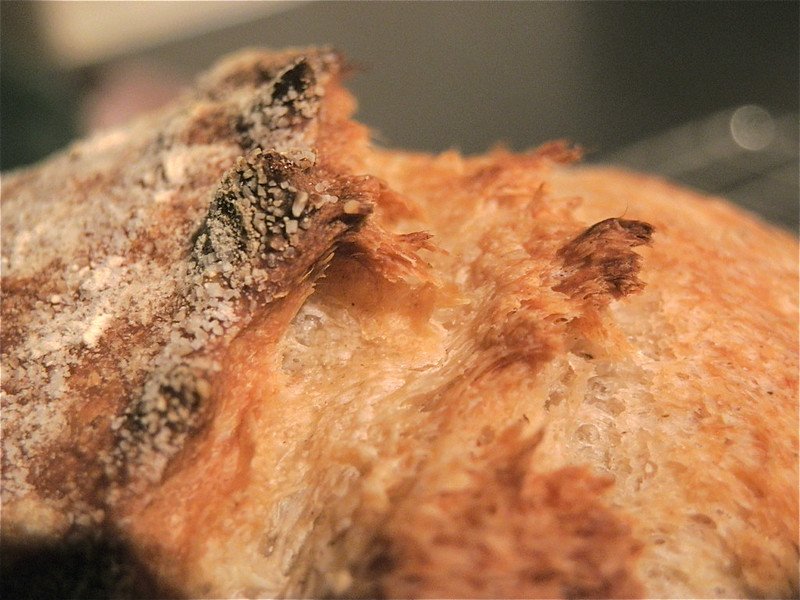
• Slash across the top with a very sharp knife to allow expansion as it rises in the oven.
• put it in the oven.
• If your loaf is in a bowl or banneton,
• Turn your loaf out gently onto a baking tray.
• Slash across the top with a very sharp knife to allow expansion as it rises in the oven.
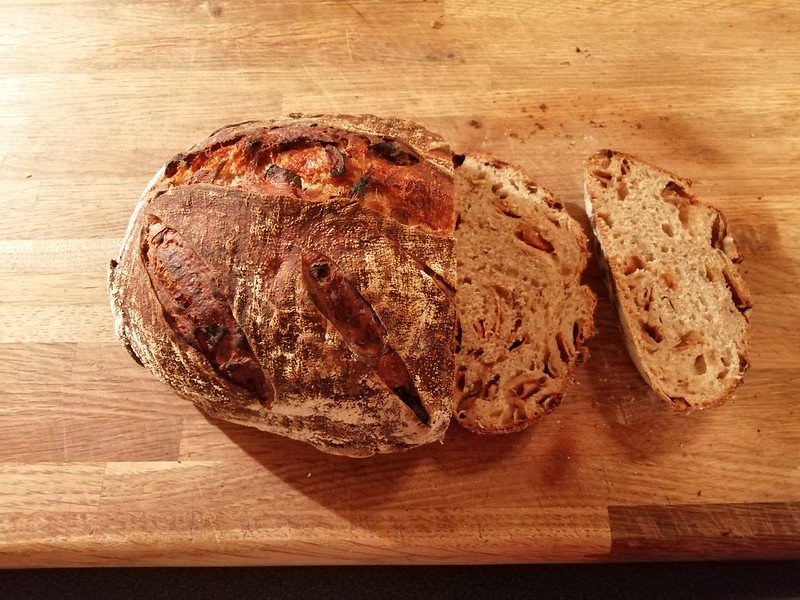
• Bake for 30-35 mins until dark brown.
• Turn onto a cooling rack and tap to check it is thoroughly cooked. It should sound hollow. If not, bake for another 5 minutes and test again.
• Listen to the crackle as the crust cools, contracts and splits and enjoy the smell!
• Eat once cool.
Don't be disheartened if your first loaf is a bit flat. This is a skill that takes time and patience as you learn how your dough should look, smell, feel and behave at each stage. Yeast is a living thing so your bread making will vary depending on the strength of your starter, the flour you use and even the weather.